Wednesday, February 29, 2012

Turnip Fries

Around these parts, the first Tuesday of the month is 15% off at all the grocery stores, a day two cheapskates never miss! This big monthly grocery shop is tackled by Mr. Loonie because he works shift and is usually off during the day (evening shopping on this day is insane!).  He usually sticks to the list but always comes home with a few surprises.  This month his surprises included two tubs of chocolate-banana ice cream (apparently it was on clearance - I swear it wasn't on the list...) and a turnip. WTF do I do with a big ass turnip?  I have been struggling with this question for over 20 days until a little google search came up with Turnip fries.....why of course!!!

Turnip Fries (Adapted from allrecipes.com)
  • 1 medium turnip, cut into equal sized sticks
  • Drizzle of Olive Oil
  • Your choice of seasonings (I used sea salt, garlic and onion powder)
  • Preheat the oven to 400
  1. Toss the turnip sticks in with the oil and seasonings.
  2. Lay the turnip sticks evenly spaced on a cookie sheet.
  3. Bake for 20-30 minutes, checking after 15 minutes.


Now you can't eat any type of fry without a dipping sauce, can you!? No!  I made a quick curry mayo...just mayo and curry.  Curry mishap in the process........


Now I will have to admit, these sounded good, tasted good and looked good but they just lacked the crispiness fries need! So if you want an option for turnips this will suit you well.  If you are craving a crispy fry, I'd take a pass on the turnips and bake some regular ol' potato fries!


Tuesday, February 28, 2012

The Adventures of Stryker - February 28, 2012

So my lovely Stryker decided to run away on our walk tonight - this is not uncommon; Mr. Loonie even has a tracker made up for him using an old iphone, ipod arm band and dog harness.  Tonight, I decided he wouldn't need it because we were only going to go on a little walk.  Well was I wrong, he sniffed out a treat only a few minutes from our house and went running.  This is what he came home with an hour later.....


Update (March 1, 2012):  Mr.Loonie took the head on a walk yesterday morning and left him hanging in a tree.  Hopefully the birds and the worms clean him up nice so we can pick him up in the sping to hang in our yard.  Reminder to self: Use this website to identify poor deery boy's age: http://www.timberwolfinformation.org/info/deerjaw/basics.htm

Monday, February 27, 2012

Lining Penny's Drawers

My favorite decorating blog that I have been reading for years and still check on a daily basis is Young House Love. They have turned their love of DIY, design and blogging into a full time career, I would envy them but their lives recently turned crazy busy with a little girl and a book deal. For their baby girl's room they too refinished a dresser but then continued to pimp it out by lining the dresser drawers in adorable craft paper.  I followed their tutorial to do the same.  Unlike them I used cheap ass wrapping paper from the dollar store instead of heavy weight craft paper because I couldn't resist the orange and yellow polka dots that looked like it was destined to line the drawers.  I did end up with quite a bit of wrinkles in the paper even with my best attempts to smooth it out. At first I got frustrated but decided to carry on, Penny will know they were made with love.

STEP 1: Wash drawers out, they were full of dust from sanding.

STEP 2: Cut paper to size.  Mr.Loonie had the smart idea of cutting the paper rolls to the width of the drawers so all I had to do was unravel the length needed into the drawer and cut with an x-acto knife.

STEP 3: Apply a thin layer of Matte Modge Podge (available at Wal-Mart) using a foam brush.

STEP 4: Lay down paper starting at one end and smooth out the best you can using whatever tool that works. (Sorry for the shit instructions here, I have yet to master it).  Let dry overnight.

STEP 5: Apply another thin layer of Modge Podge on top of the paper (I did 2 coats).


FINISHED PHOTOS:


Oh Bella....Y U SO CURIOUS?!?


Sunday, February 26, 2012

Refinishing the Nursery Dressers

As soon as we knew there was a baby on the way it meant that it was finally time to refinish the dressers I've had since 1982! My parents bought the set when I was born and they have done me well ever since.  I used them until I moved out, they followed me to my college apartment and then to my university house in Lethbridge, but sadly were in storage at the Brother-in-Law's house for the past 5 years.  History proves that these babies are strong but did take a little beating to the paint in the past 30 years.  Unfortunately I didn't take any pictures to prove it.  My other idea was to post a picture of the dressers in their glory days but all the old family photo albums are packed away.  The picture I had in mind that I knew had the dressers in it also included myself in an undershirt and panties throwing socks at the "photographer" (probably my Dad) with a scowl on my face only he could love.  Aren't you sad you are missing out on that! Anyways, on to how we actually refinished them.......

STEP 1: Beg Dad to store them in his garage while we worked on them for 2 weeks. Difficulty level: EASY ;)

STEP 2: Sand and sand some more.   The original plan was to sand and stain the whole dresser (Difficulty level: Hard) when we realised the time and energy this would take I had to quickly come up with a back up plan.  New plan was to sand and stain the top; lightly sand and paint the bottom (Difficulty level: Not as hard).

STEP 3 & 4: Prime the bottom half while Dad used his master carpentry skills to do the finishing sanding on the tops.   Difficulty level: Easy 

STEP 4: Pick out a colour and paint the bottoms (we did 3 coats).  Since picking out a colour is always the hardest part, this gets a Difficulty level: Hard!  The funny thing is I always choose white.

STEP 5: Let Dad use his mad skills again to stain and varnish the tops. To stain he just wet the rag with the stain and gently wiped it over the dresser. I decided only one coat was necessary as it was pretty dark at this point.  A good tip which we did is to test out a few different stains at varying coats on the back of the dresser drawer (you don't want to sand twice if you don't like it).  He then used 3 coats of varnish.   Difficulty level: Medium

STEP 6: Spray prime and spray paint the handles. Difficulty level: easy if you know what colour.  From the beginning I knew I wanted yellow! Note: We ended up spraying the handles because it is impossible to find 2" spaced handles in this day, all new furniture is made with a 2.5" hole spacing. In the end it was a blessing in disguise, I love the look.

STEP 7: Put it all together and admire your work!  Difficulty level: VERY easy and satisfying! 

AFTER PICTURES:


Don't they look amazing!? Love them!!

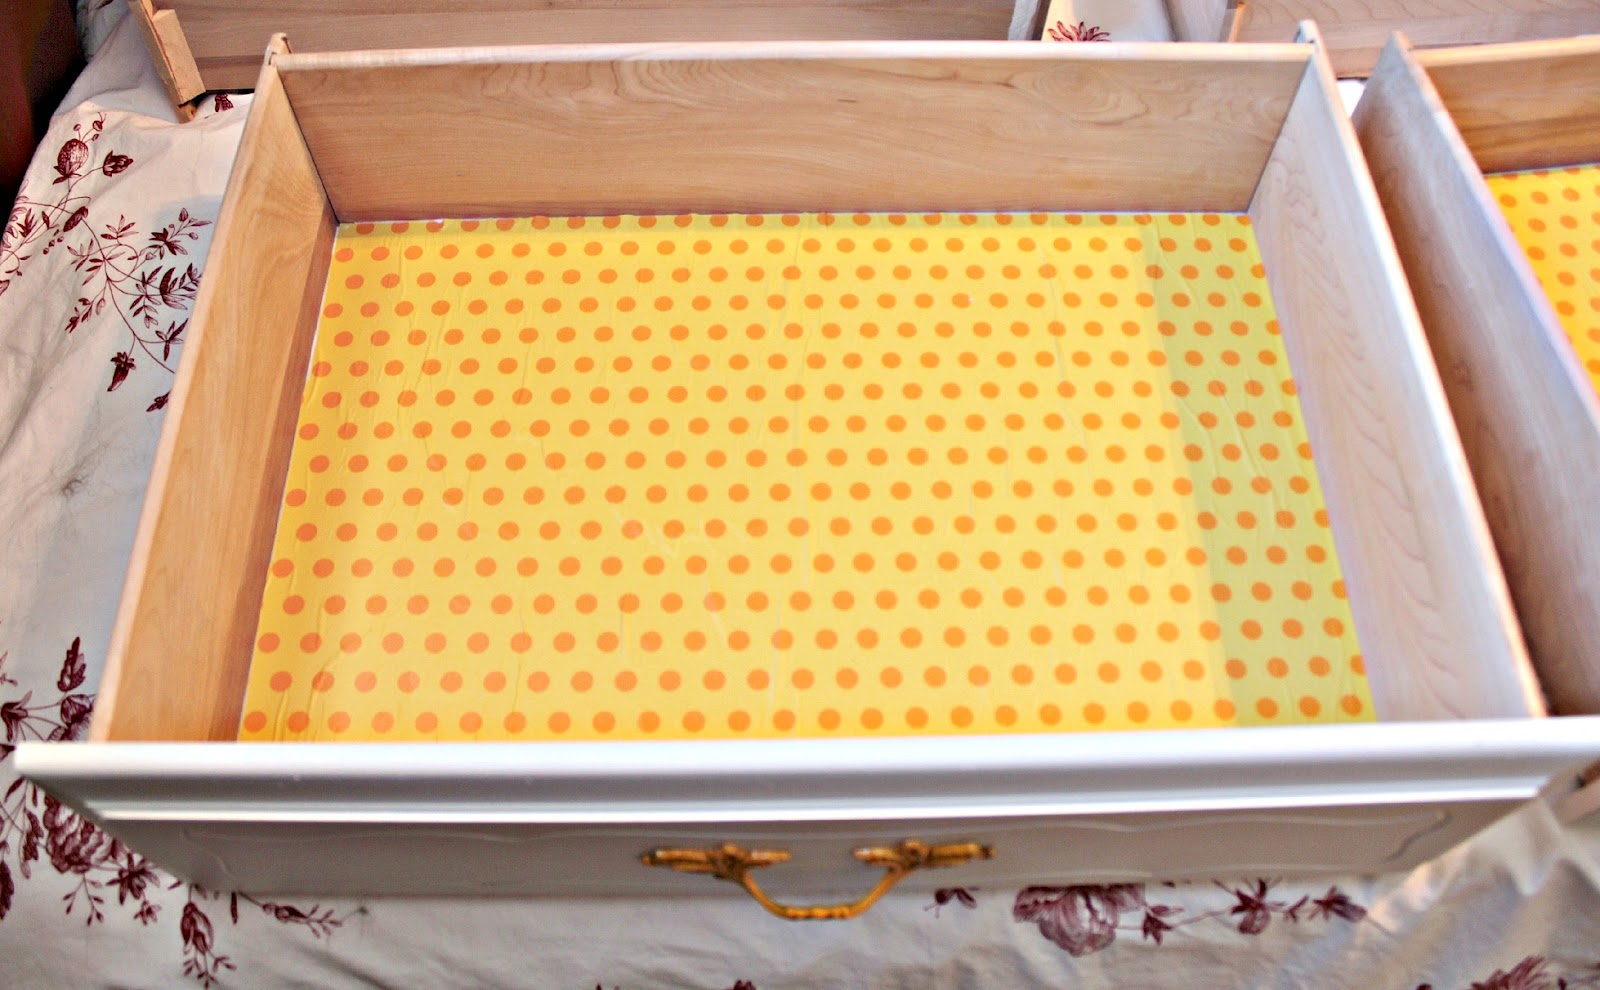
Next up: Lining the dresser drawers.....


Friday, February 24, 2012

It's a girl!

Our little Penny will be born in approximately 17 weeks, so my "pregnancy tracker" BlackBerry app tells me.  Mr.Loonie and I could not be happier, we are "OVER THE MOON" with joy and excitement (this is what celebrities always say in their press releases when they get engaged, married, pregnant, deliver, get through rehab, etc., etc.).  One gossip website I read had a counter going for awhile, which of course I can't find right now but I swear it's true.  So I figure that since my internet life pretty much revolves around celebrity gossip websites, I am allowed to say what they would.

Once in awhile I do branch my internet searches off to DIY projects, recipes, "mommy blogs" and local news.  And what would the first two be without PINTEREST!! Best website eva!! (if you need an invite let me know - I can hook you up!) I am sure most of the projects and food I make will be started based on inspiration I gathered from cruising pinterest.com endlessly but most will be an exact replica - let's be real here.  Maybe, just maybe I will be able to pull something out of my ass hat (lol...asshat) and create something original.


Penny in the Oven - 20 weeks

Please join me in my adventures of becoming a stay at home mom to our little Penny princess and the fur babies (Stryker and Bella).  At least stay for the embarrassing misadventures.....it will be funny I promise.  You might even learn something, even it is something you shouldn't do!

I warn you (well the men out there) that the majority of posts in the next few months will be about preparing for Penny and decorating her colourful nursery.  I promise to throw in some posts about anything else, just to keep you around.